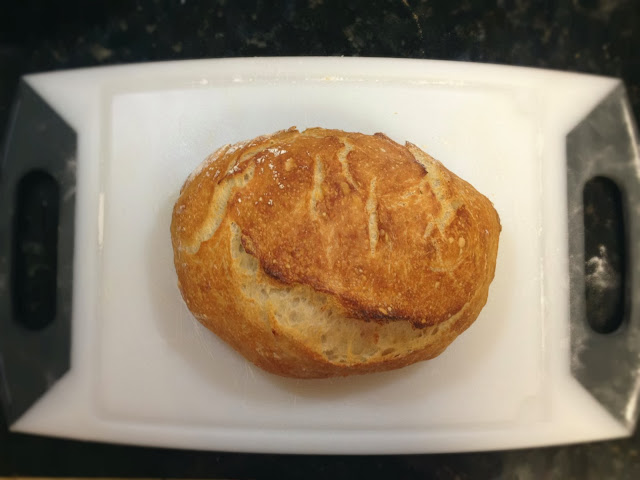
Is there anything better than a fresh from the oven, hot, buttery, buttermilk biscuit? If you've ever been to the South, you know there isn't.
Growing up, I have fond memories of visiting my grandma's house in the carolina's and eating her homemade biscuits for breakfast (and let's be honest, lunch and dinner). Though we didn't visit often because of the distance, I remember very distinctly that these were special. I always looked forward to them and loved helping her make them, though, sadly, she died when I was about 8 and I never got the recipe.
You know how when someone dies whatever it is that they did becomes even MORE special? That's how it was with Grandma and her biscuits. One day, we were eating at KFC when I declared that these hot biscuits were "almost as good as Grandma's!" My dad was VERY offended and declared that they were not even CLOSE to as good as Grandma's were.
Now that I'm older (and ironically, despise KFC biscuits), I don't know what I was thinking when I made that statement! Homemade biscuits are so so so much better. Living in Utah, I began to really crave buttermilk biscuits but didn't know how to make them and neither did my mom (but she does make awesome flour tortillas--stay tuned). I began searching the web and trying different recipes.
In my research, I learned that it mainly came down to the flour used. The best flour you can use is White Lilly Southern Self Rising Flour. It's sold in grocery stores all along the South, but can be hard to find in other states. You can buy it online though! I promise it's worth it and a bag should last you awhile. I've tried other recipes using regular flour and cake flour (cake flour is a close second) but the White Lilly flour is simply the best in my opinion.
Now, if you have White Lilly flour, then you only need three ingredients and to follow the directions on the back! You'll need flour, salted butter, and buttermilk. I learned quickly that successful biscuit-making isn't so much about ingredients as it is about process and technique. Here are some tips I found useful from friends, relatives, and, of course, the internet.
1. Use cold butter and milk. There are scientific reasons behind this, but I am not the scientist (that would be Cody) and won't bore you with that
nonsense useful information. I measure out the milk and stick it back in the fridge and cut up the butter into chunks and stick it in the freezer.
2. To begin, preheat your oven to 500 degrees. Add the butter chunks into the flour by either cutting them in (with your fingers or two knives) or using a food processor. I use a food processor because it takes me too long with my fingers and the butter gets melty (remember, the butter needs to be cold! and your hands are hot!). You want it resemble crumbs but with a few chunks still present. NOT TOO FINE.
3. Very slowly, add the cold milk to the crumb mixture. Don't add it all at once. Slowly stir it in (I use a wooden spoon) until the dough all sticks together and then don't stir a second longer! The less you work with the dough, the fluffier your biscuits will be. If you added too much milk, the dough will be very sticky so just add a little flour.
4. On a floured surface, turn over the dough and knead about twice. Gently flatten your dough, touching as little as you can. Use a biscuit cutter or glass or jar to cut your biscuits. Press firmly and
don't twist. This is usually the point in the process where Bella jumps in to "help" (so she has an excuse to sit on the counter and get flour everywhere) and I painfully watch as she twists the biscuit cutters around. Salvage what you can from your toddler and then put the biscuits on a greased cookie sheet.
5. With the remaining dough, try to form biscuits by squishing the dough into a circular shape instead of patting it down again and cutting. Even so, these second round biscuits won't be quite as fluffy because you touched them more. Stop touching the biscuits! How many times do I have to tell you, Bella?
6. Place the biscuits so that their sides are touching. This will keep them soft and make them rise higher.
7. You can choose to brush with melted butter before or after baking. To me, brushing before baking will just help them brown a little more and look more appealing. Tastes the same either way. Cook for 7-9 minutes or until bottoms are golden brown.
8. There are many variations you can make with this recipe. My favorite is to just add shredded cheddar cheese and top with melted garlic butter. Just like red lobster, maybe better!


